Crafting Excellence in Software
Let’s build something extraordinary together.
Rely on Lasting Dynamics for unparalleled software quality.
Michele Cimmino
May 25, 2023 • 3 min read
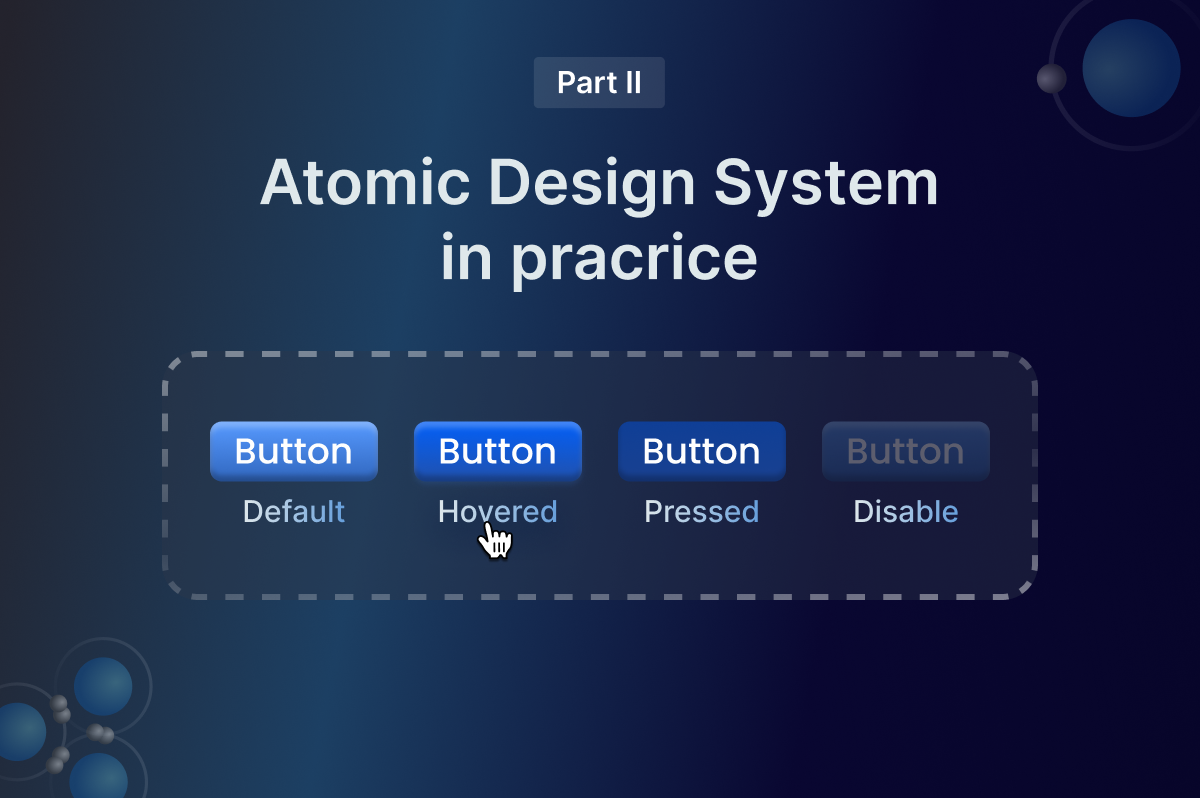
In the previous article, we shared with you the Atomic design system methodology, in this blog post we will show you how to put your new knowledge into practice. As you know, there are five stages of atomic design:
And in this article, we will learn the best practices of how to build it in Figma.
But before we start creating it, let’s talk a little about how the Lasting Dynamics design team organises the project. First of all, we start our project by creating a new team in Figma. In the team, we create New projects (think about it as folders).
A good organisational practice is to divide your project. For example, we create a separate project for the Design system where we keep all the related files. This process helps our team to find files easily and quickly.
Another quick tip on how to organise your design system file better is dividing elements into pages. For example, we create a separate page related just to Typography, Icons, Spacing, Grids, and so on. We find this organisation practice very efficient for maintaining and updating the design system and sharing it with new team members.

Firstly start building atoms in your design system file. The core atoms of any design system are typography, colours, icons, spacing, grids, and shadows. Pick one to get started and create a separate page in Figma and name it in a self-explanatory way, for example, typography.
We recommend you use styles. Using correct naming conventions for organising your file in Figma is very important.
In this example, we show you how the Lasting Dynamics design team names styles for Typography.

First we add the font family then the size (h1,h2,h3…) and weight. In Figma, it looks like this: Source Sans Pro/H1/bold. Pay attention to how we name it as this naming convention is important to create folders in Figma. We capitalise folders and for sub-folders we use slash and for what is inside the folder we type with lowercase letters. And you should have results similar to this one.
The same principle we follow with colours. Add your primary colours to styles and create a folder for it. If you have tints or shades of some colour create a separate folder for it and name it for example Blue and keep all shades or tints of this colour in this folder.
Let’s build something extraordinary together.
Rely on Lasting Dynamics for unparalleled software quality.
After finishing creating your Atoms we can combine them to create our molecules. Let’s have a look at the example of the drawer. We have two atoms that we have created: icons, and typeface. We can frame it together using the auto layout feature in Figma and create a row.

Create and name your component. Now you have a molecule from which you can create a drawer organism. Turn it in the component and you are ready to reuse your organism throughout the project.
After building our atoms, molecules, and organisms we can drag and drop these elements from our design system and create templates or pages that the end user will see. We can play with our Atomic design elements like with Lego building any UI elements quickly and making them consistent and reusable throughout our application.

Remember that naming your UI elements is very important and the name should be self-explanatory for you and your teammates to use and update it in the future. Here we made an example in Figma for you to follow. If you find it interesting, share it with your mates.
Transform bold ideas into powerful applications.
Let’s create software that makes an impact together.

Michele Cimmino
I believe in hard work and daily commitment as the only way to get results. I feel an inexplicable attraction for the quality and when it comes to the software this is the motivation that makes me and my team have a strong grip on Agile practices and continuous process evaluations. I have a strong competitive attitude to whatever I approach - in the way that I don't stop working, until I reach the TOP of it, and once I'm there, I start to work to keep the position.